Part 6: Styling Movies/TV Shows
You website should now look similar to this:
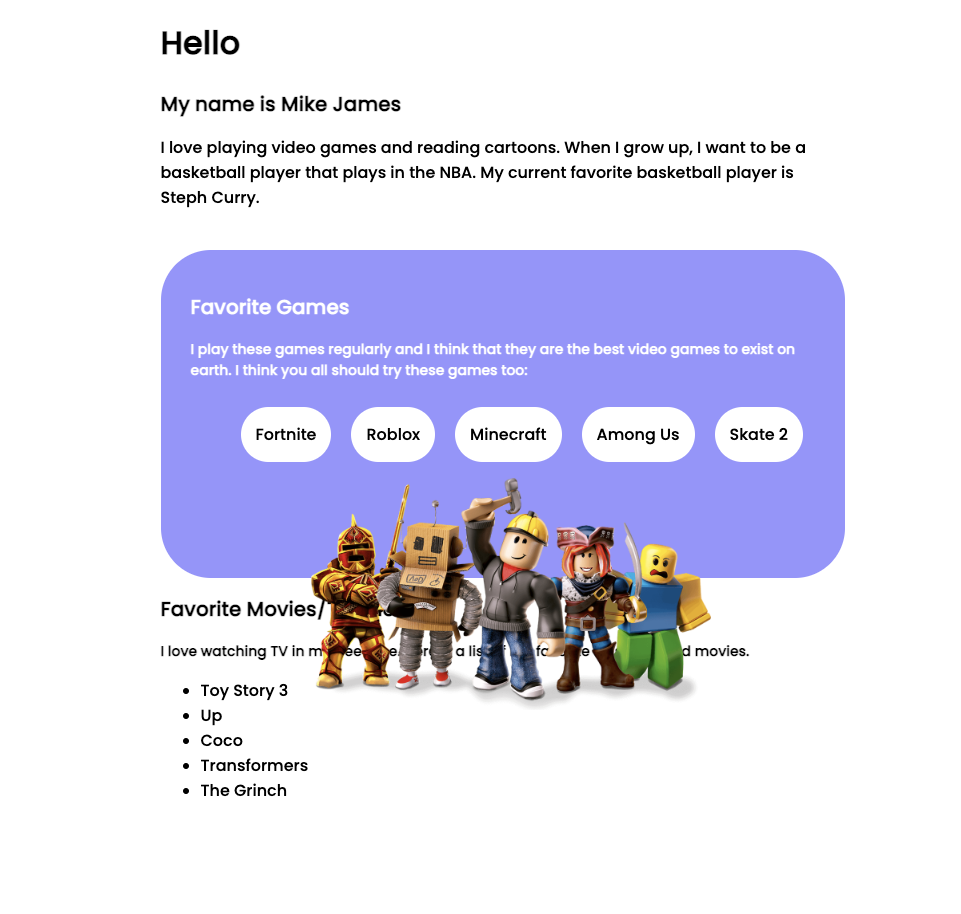
As you can tell, there is overlapping between the image and the text, so lets fix that by adding a top margin of 200px to the .tv selector:
.tv {
	margin-top: 200px;
}
A little bit better now:
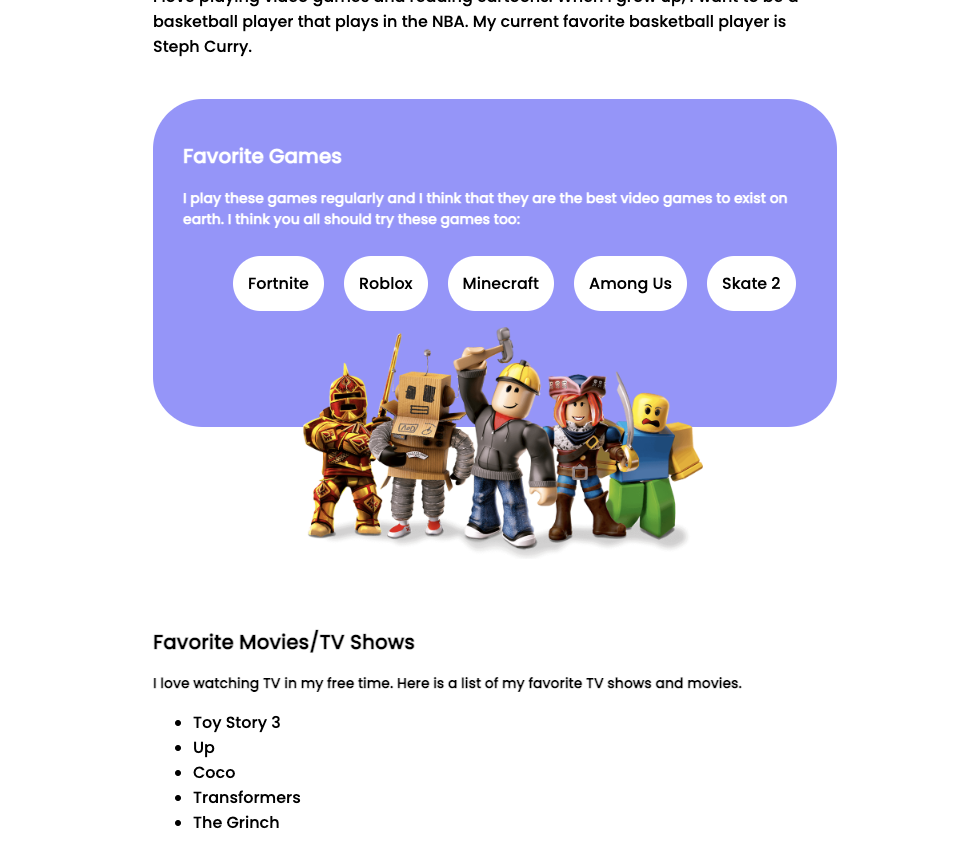
Next, lets change the background color of the .tv selector to be black, as well as change the text to be white:
.tv {
	margin-top: 200px;
	background-color:black;
	color:white;
}
The component should look like this:
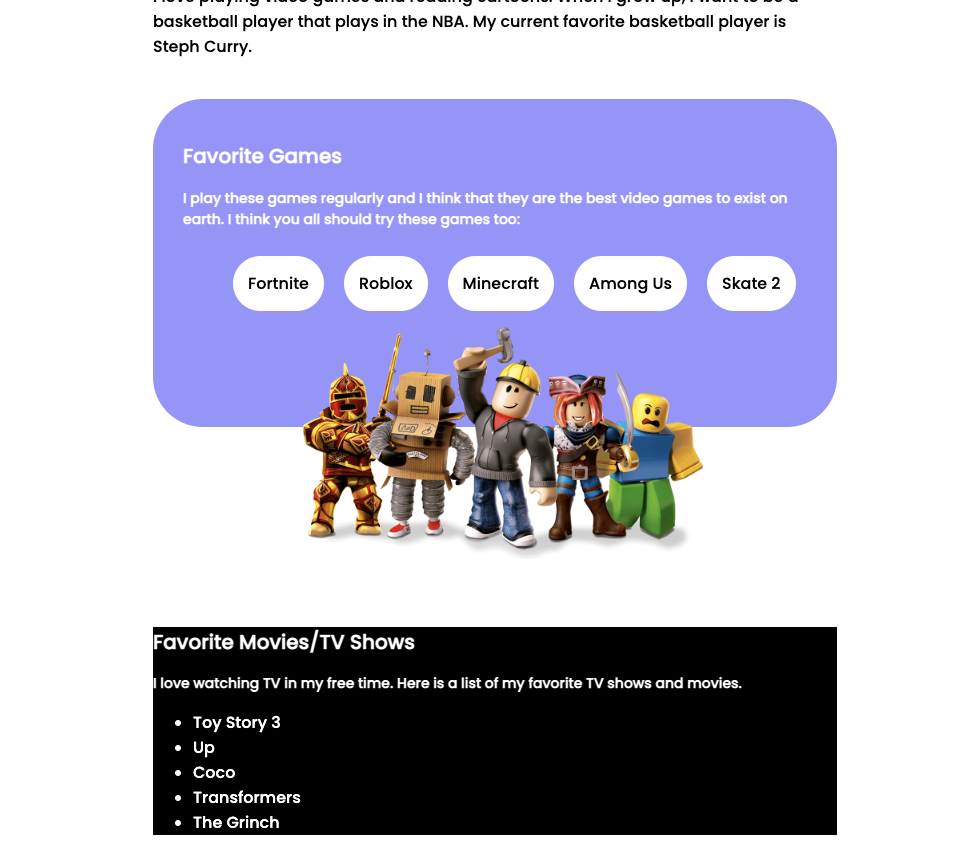
Lets add some padding so the text is spaced away from the corners a bit. Add a top and bottom padding of 25px and a left and right padding of 30px. Similar to the previous component, we’re going to add a padding-bottom value of 90px so the styling between the components is consistent:
.tv {
	margin-top: 200px;
	background-color:black;
	color:white;
	padding: 25px 30px;
	padding-bottom: 90px;
}
One last addition to the .tv selector is to add a border-radius of 50px:
.tv {
	margin-top: 200px;
	background-color:black;
	color:white;
	padding: 25px 30px;
	padding-bottom: 90px;
	border-radius: 50px;
}
Now, the page should look like this:
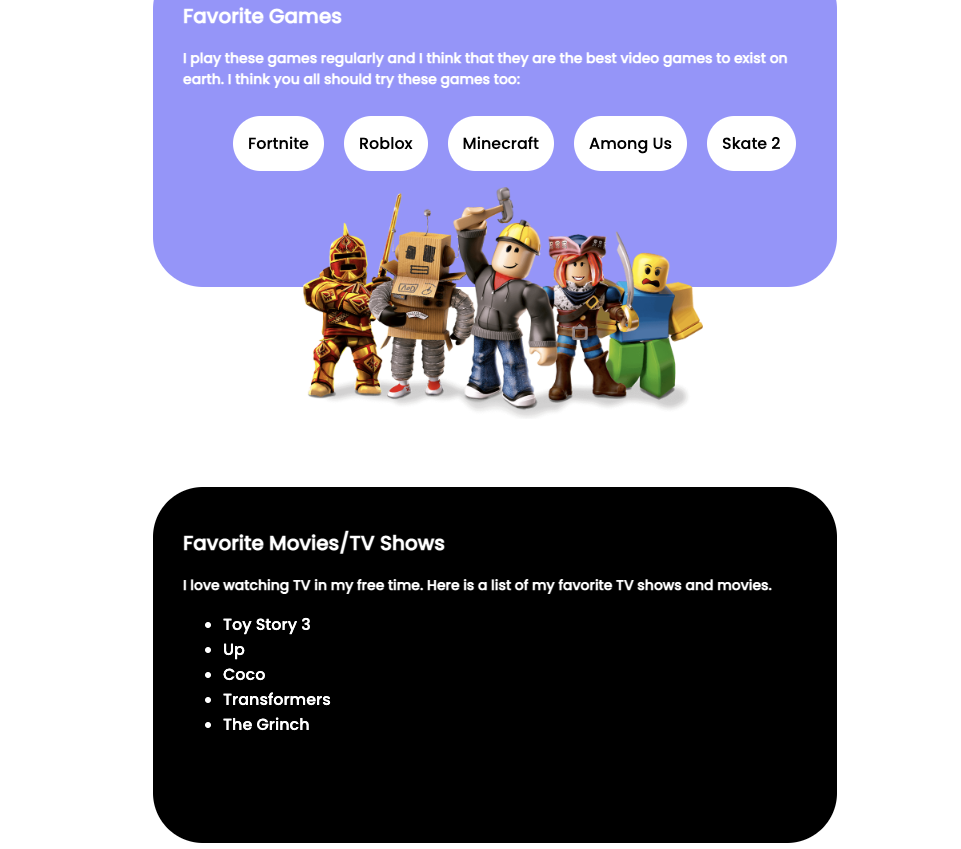
Let’s move on to style the list of movies.
We want the list of movies to be displayed side-by-side, so we’re going to use the display: flex; property. To make the list look a little big nicer, we’re going to add a white background, make the text black, remove the default list styling by using the list-style: none; property, and add some border-radius:
.tv {
	margin-top: 200px;
	background-color:black;
	color:white;
	padding: 25px 30px;
	padding-bottom: 90px;
	border-radius: 50px;
}
.tv-list {
  display: flex;
  background-color: white;
  color: black;
  border-radius: 50px;
  list-style: none;
}
Lastly, let’s add a top margin to make some spacing between the list and the “heading” text:
.tv {
	margin-top: 200px;
	background-color:black;
	color:white;
	padding: 25px 30px;
	padding-bottom: 90px;
	border-radius: 50px;
}
.tv-list {
  display: flex;
  background-color: white;
  color: black;
  border-radius: 50px;
  list-style: none;
	margin-top:40px;
}
Now, the component should look like this:
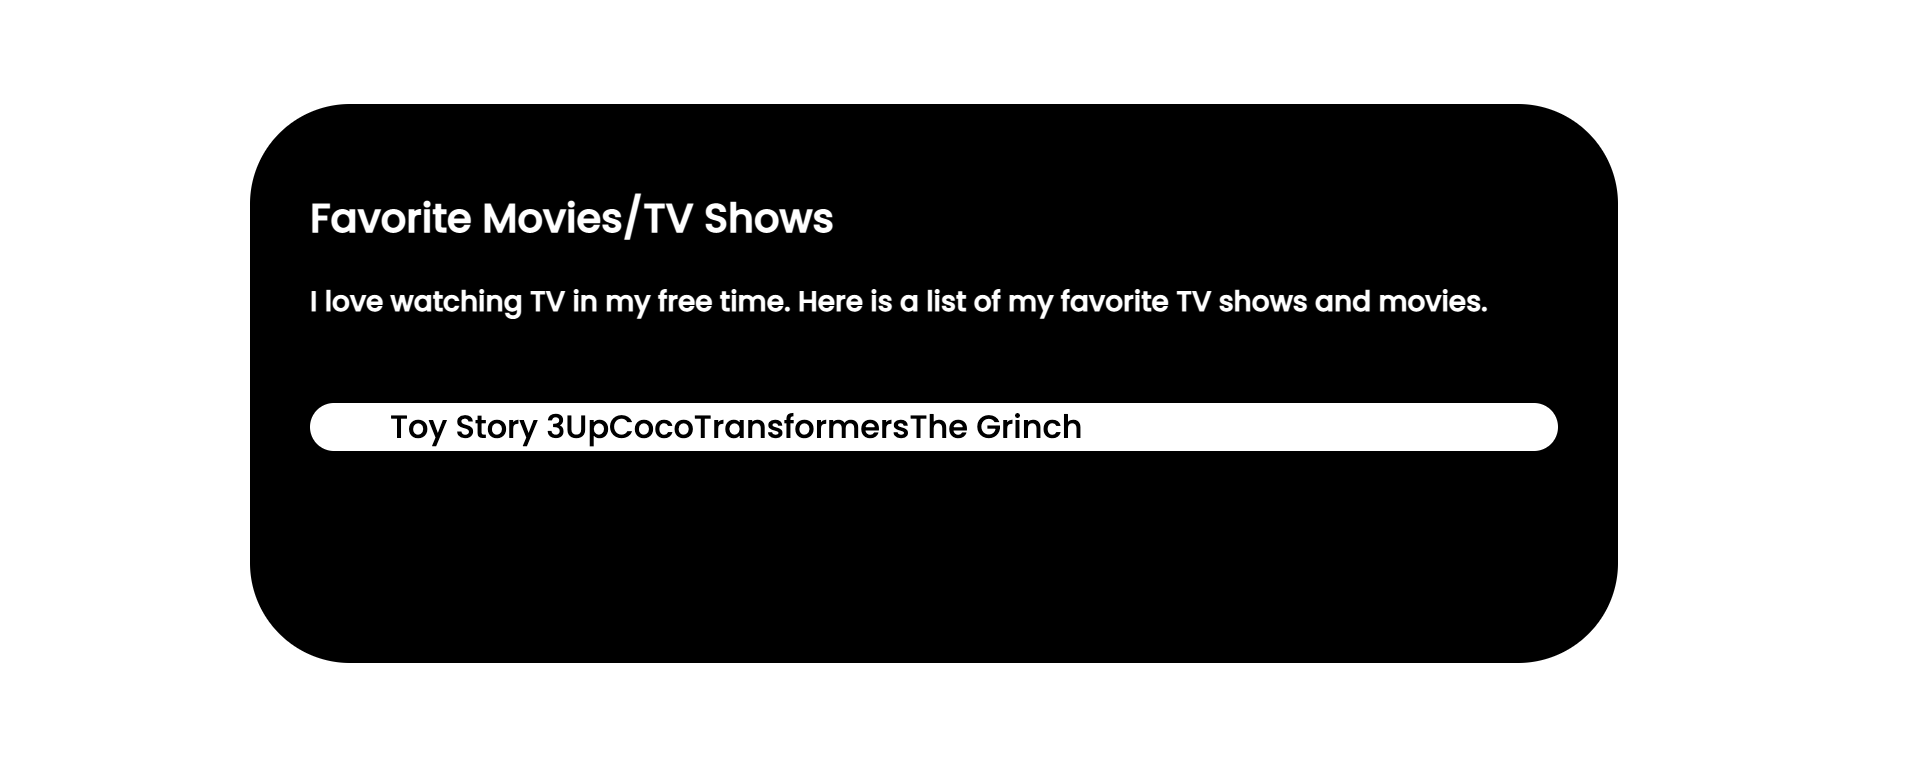
The list items seem to be closely packed with each other, so the final step is to add padding on the list items by using the .tv-list > li selector:
.tv {
	margin-top: 200px;
	background-color:black;
	color:white;
	padding: 25px 30px;
	padding-bottom: 90px;
	border-radius: 50px;
}
.tv-list {
  display: flex;
  background-color: white;
  color: black;
  border-radius: 50px;
  list-style: none;
	margin-top:40px;
}
.tv-list > li {
  padding: 20px;
}
The final result should look like this:
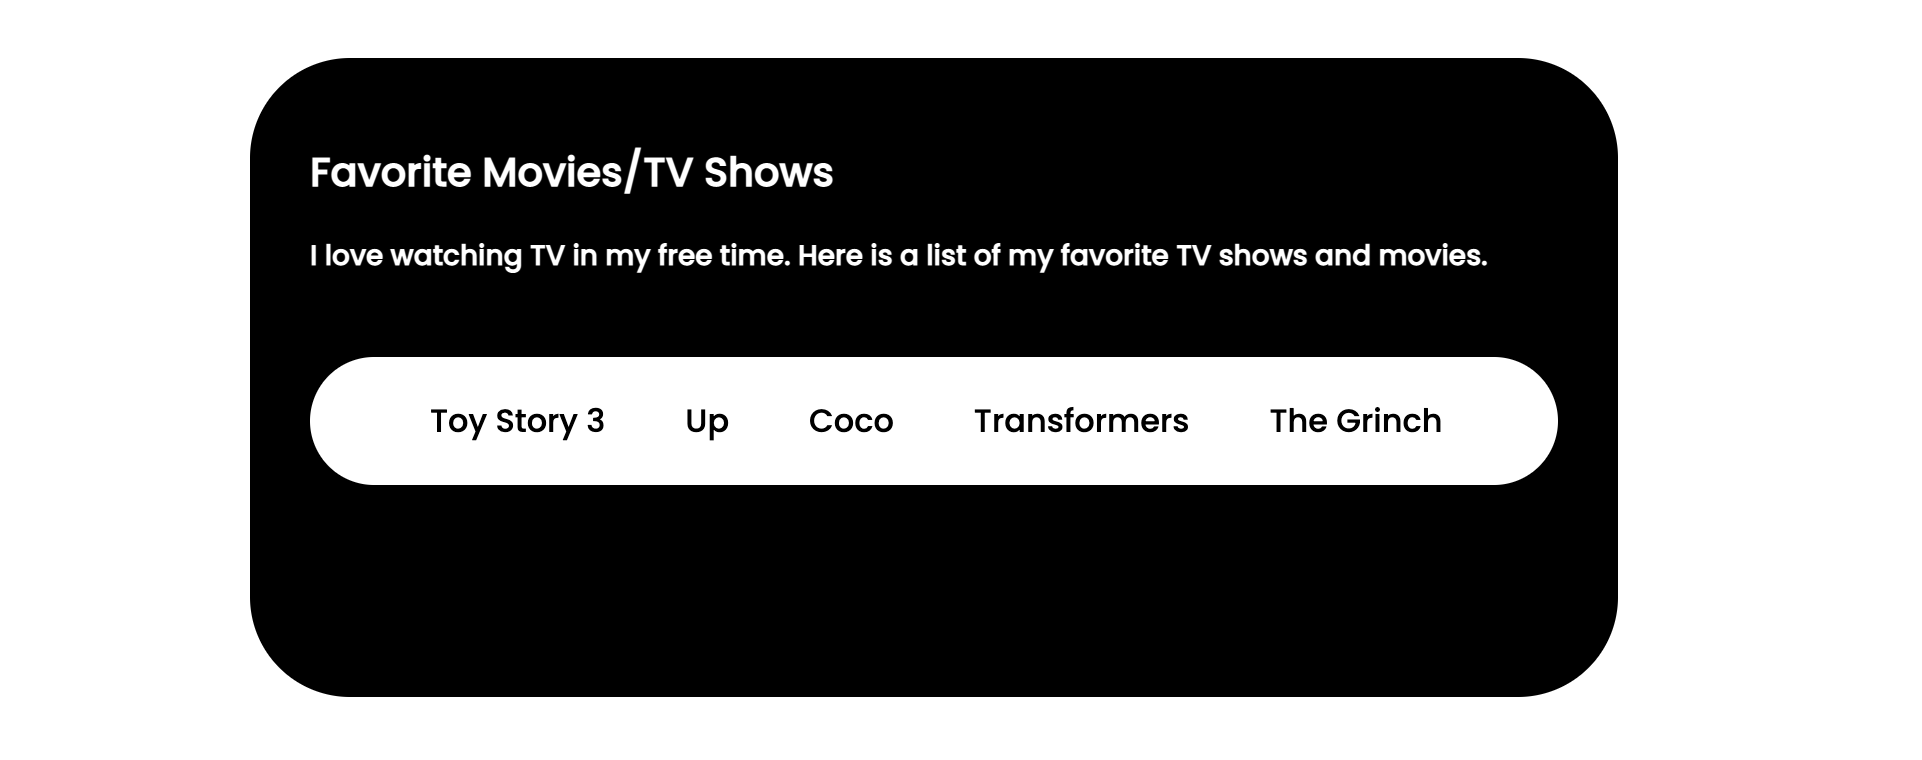
For now, the full contents of styles.css should be the following
@import url('https://fonts.googleapis.com/css2?family=Poppins:wght@500&display=swap');
html {
  font-family: 'Poppins', sans-serif;
  max-width: 700px;
  margin: 0 auto;
}
h2 {
  font-size: 20px;
}
.games {
  margin-top:40px;
  background-color: rgb(149, 149, 255);
  color:white;
  border-radius: 50px;
  padding: 25px 30px;
  padding-bottom: 90px;
}

h3 {
  font-size:14px;
}

.games-list {
  display: flex;
  list-style:none;
}
.games-list > li {
  padding: 15px;
  border-radius: 50px;
  background-color: white;
  color: black;
  margin: 10px;
}

.img-container {
  position: absolute;
  display: flex;
  justify-content: center;
  width: 700px;
  margin-top: -100px;
}

.tv {
	margin-top: 200px;
	background-color:black;
	color:white;
	padding: 25px 30px;
	padding-bottom: 90px;
	border-radius: 50px;
}
.tv-list {
  margin-top:40px;
  background-color: white;
  list-style: none;
  color: black;
  border-radius: 50px;
  display: flex;
}
.tv-list > li {
  padding: 20px;
}
Great! The website is coming together now. There is only one last component to add, which we will cover in the next section.